
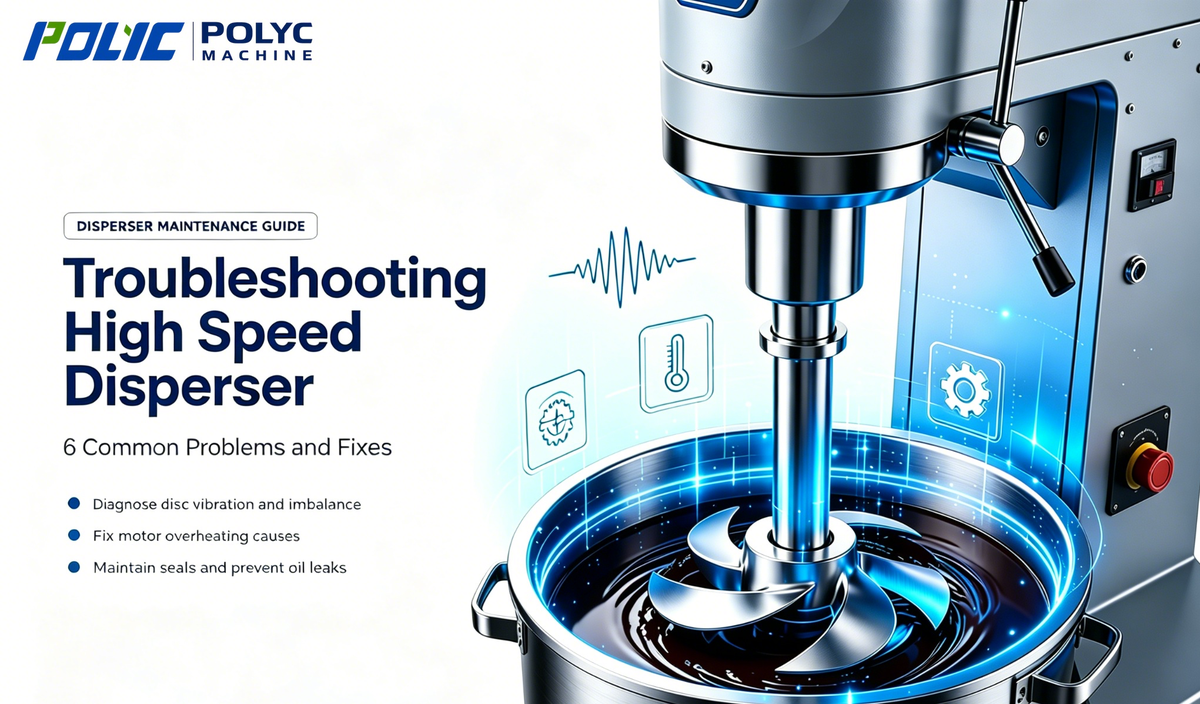
High speed dispersers are dependable production tools, but stable results still depend on the condition of the drive, shaft, disc, and process setup. A disperser can run every day without an obvious failure and still slowly lose dispersion quality, introduce air, or place excessive load on its motor. The best response is to separate mechanical symptoms from formulation and operating symptoms before changing several variables at once.
This troubleshooting guide explains six common high speed disperser problems and practical fixes. It applies to paint, coatings, inks, pigment pastes, adhesives, chemical slurries, and similar liquid-solid systems. The checks below are intended to help operators create a repeatable diagnostic sequence. Where a repair affects guarding, electrical work, lifting equipment, or a mechanical seal, isolate the machine and use qualified maintenance personnel.
A high speed disperser is usually the premixing stage of a larger process. It wets powders, breaks soft agglomerates, and creates the circulation pattern required before fine milling. When a final particle-size target is below the practical range of the disperser, the next process stage is typically a horizontal bead mill. The comparison guide High Speed Disperser vs Bead Mill explains the different jobs of these two machines. For a broader selection overview, see the Complete Guide to Industrial Dispersers.
1. Disc Wobble or Vibration
Symptoms: The dispersing disc appears to move side to side while running, the vessel or lifting frame vibrates more than usual, or the machine produces an unusual rhythmic sound. A small amount of normal operating vibration is expected at high speed, but visible disc runout, a sudden change in sound, or vibration that increases with speed should be investigated promptly. Continued operation can damage bearings, the shaft, the vessel, and the product.
Common causes: Uneven disc wear is a frequent cause. Abrasive pigments, fillers, or accidental contact with the vessel can remove material from one side of the disc and upset its balance. A bent or deformed shaft can also create runout, particularly after a collision during cleaning or lifting. Loose disc fasteners, a worn hub, loose coupling components, or bearing play can create a similar symptom. If the machine vibrates only with one particular batch, inspect whether the material level, disc position, or vessel support is creating an unstable circulation pattern before assuming the drive is damaged.
Fix: Lock out the machine and inspect the disc for irregular edges, chipped teeth, cracks, and uneven thickness. Replace a disc when wear exceeds approximately 30 percent of its original thickness or when it cannot be balanced reliably. Check shaft straightness with an appropriate runout measurement; correct or replace a bent shaft rather than trying to compensate by changing speed. Tighten the disc fixing bolt or hub hardware to the manufacturer's torque recommendation, then inspect bearings and couplings if movement remains. Run the machine empty only for a brief mechanical check, then verify at a low speed in a correctly filled vessel.
Prevention: Avoid dry running and do not allow the disc to strike the vessel wall or bottom. Include disc condition, fastener tightness, shaft runout, and abnormal sound in the planned inspection routine. A clean, correctly supported vessel and a consistent lifting sequence reduce accidental contact during changeovers.
2. Uneven Shear or Poor Dispersion
Symptoms: The batch may show pigment streaks, floating agglomerates, uneven color strength, or a visibly weak vortex. Samples taken from the top and bottom of the vessel can have different viscosity, color, or particle-size results. Operators sometimes respond by extending the mixing time, but more time alone will not correct a poor flow pattern or an unsuitable machine for the viscosity.
Common causes: Disc tip speed may be too low for the material, especially after a conservative startup speed has not been increased. The disc can also be set at the wrong immersion depth. If it is too high, it pulls air and works only the upper layer; if it is too low, circulation is restricted near the bottom. As a practical starting point, position the disc approximately 1.5 disc diameters above the vessel bottom, then refine the setting according to vessel geometry and liquid level. High viscosity can prevent material from returning to the disc zone, while poor powder addition can leave dry pockets that no amount of downstream shear will fully correct.
Fix: Start at low speed to wet the powder, then increase speed progressively into the operating window. Typical high speed disperser operation is often 1,500-3,000 rpm for lower-viscosity materials, but the correct setting is determined by disc diameter, tip speed, viscosity, and batch scale rather than rpm alone. Adjust the disc depth and observe whether the material forms a controlled circulation pattern without splashing. For very high-viscosity pastes, evaluate a double-shaft, planetary, or vacuum mixer rather than forcing a single-shaft disperser beyond its practical torque range. The Double Shafts High Speed Disperser is useful where greater bulk circulation and higher-viscosity handling are required.
Prevention: Standardize batch fill level, disc diameter, disc depth, powder addition rate, startup speed, and final speed. Record the process values that produce the target dispersion. A short, controlled premix at lower speed is generally more reliable than immediately applying maximum shear to dry powder or a partially wetted batch.
3. Motor Overheating
Symptoms: The motor housing temperature rises above about 80 degrees C, overload alarms occur, the drive trips, or there is a burnt odor. Temperature should be checked at a consistent measurement point and compared with the motor and inverter limits. A hot motor may be responding to a genuine process overload, poor ventilation, electrical imbalance, or a mechanical drag condition.
Common causes: Excessive viscosity or an oversized disc can push motor torque beyond its continuous rating. A batch may also become progressively thicker as solvent evaporates, temperature changes, or powder loading increases. Voltage instability, a missing phase, loose terminals, incorrect variable-frequency-drive settings, or poor three-phase balance can increase current draw. Dust, dried product, or a blocked cooling fan reduces heat rejection. Bearing damage, misalignment, and a dragging seal add mechanical load even when the material itself is not unusually viscous.
Fix: First reduce speed and confirm that the batch viscosity and fill level are within the approved operating range. Review motor current against the nameplate value rather than relying only on temperature. If the process consistently needs more torque, reduce formulation viscosity where possible, use a larger motor, or choose a more suitable mixing configuration. Have qualified personnel check supply voltage, phase balance, connections, grounding, and drive parameters. Clean fan covers and motor surfaces, and inspect bearings or seals when current remains high with a normal batch.
Prevention: Do not run continuously at overload. Keep cooling passages clear, schedule dust removal, and trend motor current and temperature for recurring products. A batch record that includes viscosity, speed, runtime, and temperature makes it easier to identify a gradual process change before it becomes a motor failure.
4. Foaming or Air Entrainment
Symptoms: The material surface develops a large foam layer, the apparent volume increases, density or fill weight becomes inconsistent, and bubbles remain after the batch is transferred. Air entrainment can also cause pump cavitation, filter problems, coating defects, and inaccurate viscosity measurements. It is particularly common in water-based systems, surfactant-rich formulations, and batches started at high speed.
Common causes: The disc is often too close to the liquid surface, creating a deep vortex that draws air down the shaft. Excessive speed, low batch level, or an undersized vessel can make the vortex worse. Some formulations have naturally low surface tension or include dispersants and resins that stabilize bubbles. Powder may also be added too quickly, trapping air before wetting is complete.
Fix: Lower the disc so it remains fully submerged during the high-shear stage and reduce speed until the vortex is controlled. Add powder gradually under low-speed wetting conditions before increasing to the final dispersion speed. Use a small, formulation-approved defoamer only after confirming that the root cause is not disc position or batch level. When entrained air is a critical quality issue, consider a vacuum dispersing machine so wetting, dispersion, and deaeration can be managed in a closed process.
Prevention: Define a low-speed addition step, a controlled acceleration ramp, and a minimum liquid level for each product. Avoid chasing a short cycle time by creating foam that later requires extended deaeration. Check the vessel diameter and liquid depth whenever a formula is transferred to a new batch size.
5. Leaking Seal or Oil Contamination
Symptoms: Lubricant appears at the shaft seal, product contamination is visible near the shaft entry, or oil level changes unexpectedly. In solvent-based, high-purity, or regulated products, even a small leak should be treated as a product-quality issue. A seal leak can also allow product to migrate into the bearing area, creating a larger mechanical repair later.
Common causes: Mechanical seal faces wear over time, especially with abrasive materials, dry running, shaft vibration, or incorrect alignment. Elastomer oil seals can harden, swell, or crack when exposed to incompatible solvents or temperature. Excess lubricant can force oil past an otherwise serviceable seal. A worn shaft sleeve, damaged seal housing, bearing play, or pressure changes within a closed vessel may also shorten seal life.
Fix: Stop the machine, isolate the batch if contamination is possible, and inspect the seal arrangement. Replace worn mechanical seals or oil seals as a set when recommended by the manufacturer. Confirm lubricant type and level, clean the seal area, and inspect shaft surface condition before fitting a new seal. For solvent-based materials, select compatible seal materials and consider a stainless-steel mechanical seal arrangement appropriate to the chemistry. Do not simply add more lubricant to solve a leak.
Prevention: Include seal inspection in the monthly maintenance plan and keep a record of the product chemistry, solvent, temperature, and seal material used. Investigate vibration before it damages a new seal. A clean shaft, correct alignment, and the right lubricant level are as important as the replacement part itself.
6. Inconsistent Batch-to-Batch Results
Symptoms: Two batches with the same nominal formula have different color strength, viscosity, gloss, particle-size distribution, or milling time. The equipment may appear mechanically healthy, yet operators see variable product performance. This is usually a process-control problem rather than a single failed component.
Common causes: Mixing time, speed, disc depth, batch temperature, and order of addition may vary between operators or shifts. Powder may be charged before the liquid has reached the required wetting state. Temperature changes alter viscosity and therefore circulation and power draw. Raw material lot variation, inaccurate weighing, vessel fill level, and cleaning residues can all influence the result. If a bead mill follows the disperser, inconsistent premixing changes the load on the milling stage and makes final results harder to reproduce.
Fix: Create a practical standard operating procedure that defines material addition order, mixing time, speed ramp, disc position, temperature limit, and sampling method. Record actual batch temperature, speed, runtime, motor current where available, and key quality results. Compare a good batch and a poor batch before changing formulation or equipment. For higher-viscosity products, add temperature control and evaluate whether the mixer configuration provides enough circulation throughout the full batch.
Prevention: Train operators on the reason behind each step, not only the target rpm. Use a batch record, maintain calibrated weighing and temperature instruments, and review trends regularly. Repeatability comes from controlling the complete process: material condition, addition sequence, mechanical setup, speed, temperature, and cleaning.
A practical diagnostic sequence before changing equipment
When a problem occurs, avoid changing speed, disc position, formulation, and maintenance parts at the same time. Start by making the condition safe, then identify whether the symptom is mechanical, electrical, or process-related. Record the product name, batch size, liquid level, viscosity, temperature, disc diameter, disc depth, speed, motor current, and the exact time at which the symptom begins. A vibration that appears immediately at startup points to a different cause than one that begins only after powder addition or after the batch warms up.
Next, compare the current batch with the last batch that met the quality target. Confirm raw-material lot, addition sequence, actual weighed quantities, vessel size, mixing time, and cleaning status. Inspect the disc, shaft, fasteners, seals, fan cover, and cable connections with the machine isolated. For process symptoms, take samples from more than one level in the vessel and compare color, viscosity, and fineness. This separates poor bulk circulation from a local sampling error.
After one controlled correction, repeat the check and document the result. For example, if foaming is reduced by lowering the disc, keep the same batch level and speed so the change can be evaluated. If motor current remains high after a viscosity adjustment, investigate mechanical resistance or electrical supply rather than continuing to reduce speed. This disciplined sequence prevents unnecessary downtime and creates a useful history for future maintenance planning.
Production teams also benefit from defining clear escalation limits. Stop and inspect immediately for sudden vibration, abnormal noise, exposed electrical damage, a seal leak that can contaminate the product, or a motor overload that does not clear after the normal batch conditions are restored. For recurring dispersion-quality issues, preserve a sample and the batch record. POLYC MACHINE engineers can use the formulation, process data, and observed symptoms to review whether disc geometry, drive power, vessel arrangement, vacuum capability, or a downstream bead mill stage should be adjusted.
Use maintenance findings to improve the process as well as repair the machine. Repeated disc wear may indicate abrasive raw material or poor vessel clearance. Repeated foaming may show that the addition sequence needs revision. Repeated overloads may mean the formulation has moved beyond the original design range. Turning those observations into a revised SOP, spare-parts plan, or equipment specification is usually more valuable than treating each event as an isolated incident.
Frequently Asked Questions
How do I know if my disperser disc is worn out?
Look for irregular edges, chips, or significant weight loss. If the disc wobbles at high speed, it is likely unbalanced from wear. Replace it when wear exceeds 30 percent of the disc thickness.
What speed should a high speed disperser run at?
Typical speeds are 1,500-3,000 rpm for low-viscosity materials below 5,000 cP, and 500-1,500 rpm for higher-viscosity materials. Always start slowly and increase gradually while observing circulation, motor load, and air entrainment.
Why is my disperser not dispersing pigment properly?
Check disc immersion depth, which should be about 1.5 times the disc diameter from the bottom, speed, and viscosity. Too little speed gives poor shear, while excessive viscosity prevents the circulation needed to return material to the disc zone.
How often should I maintain a high speed disperser?
Daily, check sounds and vibration. Weekly, clean the dispersing disc and check oil level. Monthly, inspect seals and electrical connections. Annually, complete a full service including bearing inspection.
A disciplined troubleshooting routine protects product quality and helps a disperser remain a reliable part of the process. Share your material, viscosity, batch size, target quality, and operating observations with POLYC MACHINE engineers when you need help selecting or configuring a dispersing system.